In a previous post, I showed you how to record bills in QuickBooks Online. In this tutorial, I will show you how easy it is to pay your bills in QuickBooks Online and avoid overpaying your vendors.
Log into QuickBooks Online and watch the video and follow the guide to get started.
Step by Step Guide
Click on the Quick Create "+" icon in the top right navigation bar.
Under the Vendor column, click on Pay Bills.
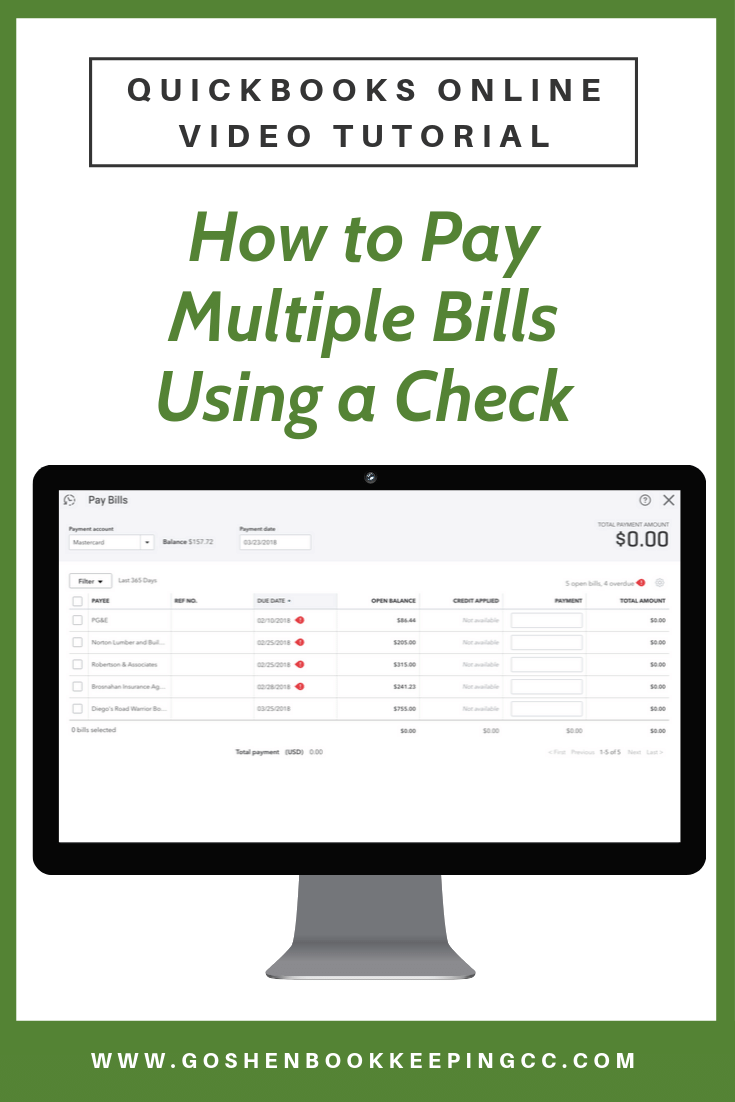
QuickBooks Online will open up a bill payment screen with any outstanding bills listed. Do the following:
Select the payment account
Select the payment date
Enter the reference number or starting check number
Select print later if you are printing the checks using your check stock
Check the box next to the bills you want to pay
Confirm your total payment balance
Click save and print to print the checks using your check stock
In the print screen, QuickBooks Online will ask you to choose your check stock type and set up your printer settings to print out checks.
Follow the instructions on the page to get the printer alignment correct then click the Yes, I'm finished with the setup button to continue to the next page.
On the next screen, enter the starting check number from your check stock then click on the preview and print button to print the checks.
In the popup print preview screen, select your printer options to print the check(s).
Once you have printed out the checks, QuickBooks Online will ask to confirm that the checks printed okay. You can select one of the following options to complete the process:
Yes, they all printed correctly
Some checks need reprinting, starting with check number
No, keep all checks in the Print Checks list
Click done after selecting your option.
Feel free to share this QuickBooks Online tip. Reach out to me if you need a one-on-one QuickBooks Online training session.


